Observer Design Pattern

Contents
Observer Design Pattern
Recently I had the opportunity to work on a project where I had to implement the Observer Design Pattern.
Here is a simple explanation of the Observer Design Pattern with implementation in Go.
Why learn Observer Design Pattern?
Principles of Good Software Design
- Identify the aspects of your application that vary and separate them from what stays the same.
- Program to an Interface, not an Implementation.
- Favor Composition over Inheritance.
- Strive for loosely coupled designs between objects that interact.
- Classes should be open for extension, but closed for modification.
How does Observer Pattern follow those principles
- Loosely coupled design - Subject and Observers are loosely coupled. Subject does not know anything about the Observers and Observers do not know anything about the Subject. They are loosely coupled.
- The only thing the subject knows about an observer is that it implements a certain interface (the Observer interface).
- Add new Observers any time.
- Changes to either the subject or an observer will not affect the other.
- Ability to evolve Subject and Observers independently.
Introduction
What's a Observer Pattern
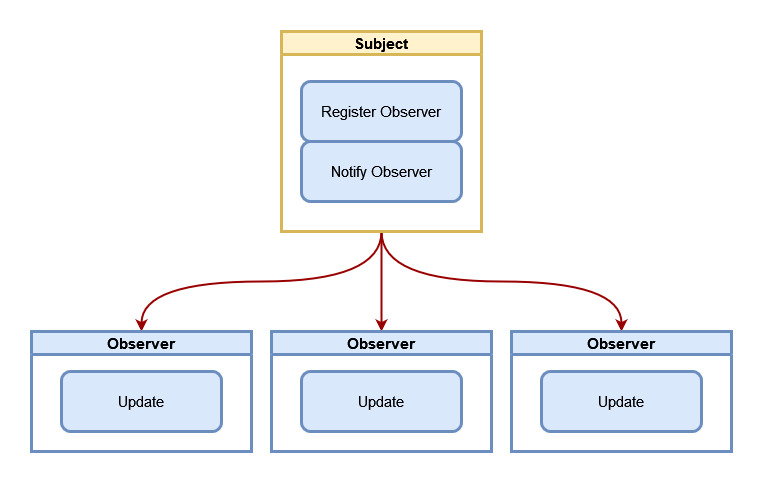
- Observer Design Pattern is a behavioral design pattern. It defines a one-to-many dependency between objects so that when one object changes state, all of its dependents are notified and updated automatically.
- There are two types of objects in this pattern, the subject and the observers. The subject is the object whose state changes and the observers are the objects that are dependent on the subject.
- Consider a Public Github Repository, anyone can watch the repository and get notified whenever there is a commit in the repository. In this example, the repository is the subject and the watchers are the observers.
- The subject maintains a list of its observers and notifies them whenever there is a change in the subject.
- The observer interface has a single method, Update. The Update method is called by the subject whenever there is a change in the subject. The Update method is used to update the observer about the change in the subject.

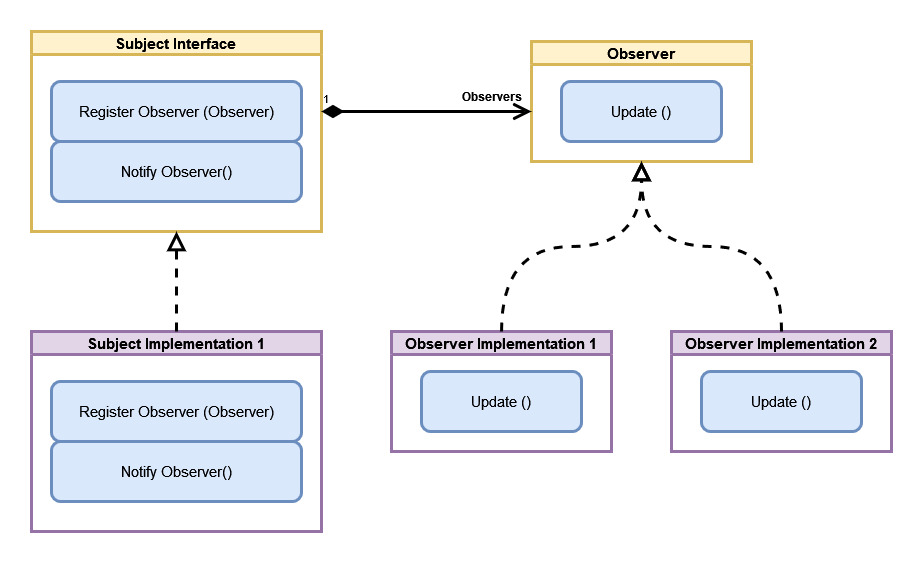
UML Diagram

Implementation
Subject
- We will create a Subject interface and an Observer interface.
- The Subject interface will have two methods, Attach and Notify.
- The Attach method will be used to attach an observer to the subject and the Notify method will be used to notify all the observers about the change in the subject.
- The subject will maintain a list of observers and will notify all the observers whenever there is a change in the subject.
- Optionally we can define a Data interface which will be used to pass data to the observers.
Observer
- The Observer interface will have a single method, Update. The Update method will be used to update the observer about the change in the subject.
- The observer will implement the Update method and will be notified whenever there is a change in the subject.
Subject Interface
type Subject interface {
	Attach(Observer)
	Notify()
}

type SubjectImpl struct {
	observers []Observer
}

func (s *SubjectImpl) Attach(o Observer) {
	s.observers = append(s.observers, o)
}

func (s *SubjectImpl) Notify(data Data) {
	for _, o := range s.observers {
		o.Update(data)
	}
}
Observer Interface
type Observer interface {
	Update(Data)
}

type ObserverImpl struct {
	ID int
}

func (o *ObserverImpl) Update(data Data) {
	fmt.Println("Observer", o.ID, "received data", data.name)
}
Data Struct
type Data struct {
    name string
}
Let’s test our implementation
func main() {
	subject := SubjectImpl{}

	observer1 := ObserverImpl{ID: 1}
	observer2 := ObserverImpl{ID: 2}
	observer3 := ObserverImpl{ID: 3}

	subject.Attach(&observer1)
	subject.Attach(&observer2)
	subject.Attach(&observer3)

	subject.Notify(Data{name: "Data 1"})
	subject.Notify(Data{name: "Data 2"})
}
Output
Observer 1 received data Data 1
Observer 2 received data Data 1
Observer 3 received data Data 1
Observer 1 received data Data 2
Observer 2 received data Data 2
Observer 3 received data Data 2
GitHub Repository
Conclusion
- Now you have one more awesome design pattern in your arsenal. Have fun implementing it in your projects.
Credits
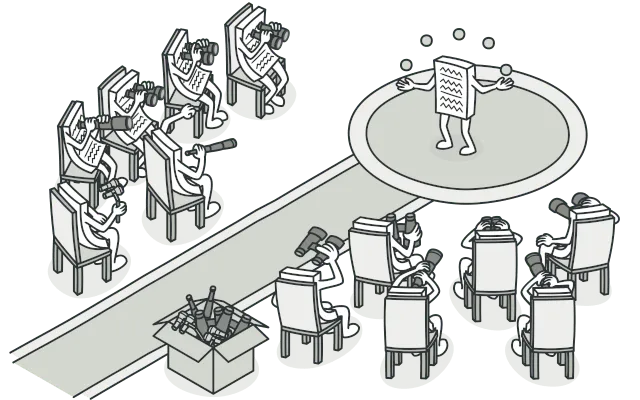
- Main Image Credit : Observer Pattern - Refactoring Guru